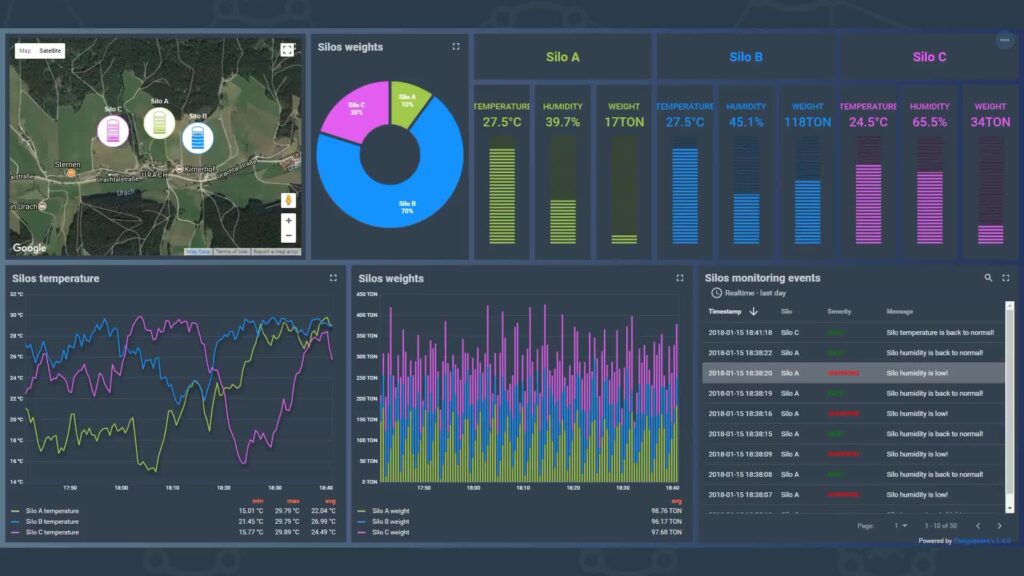
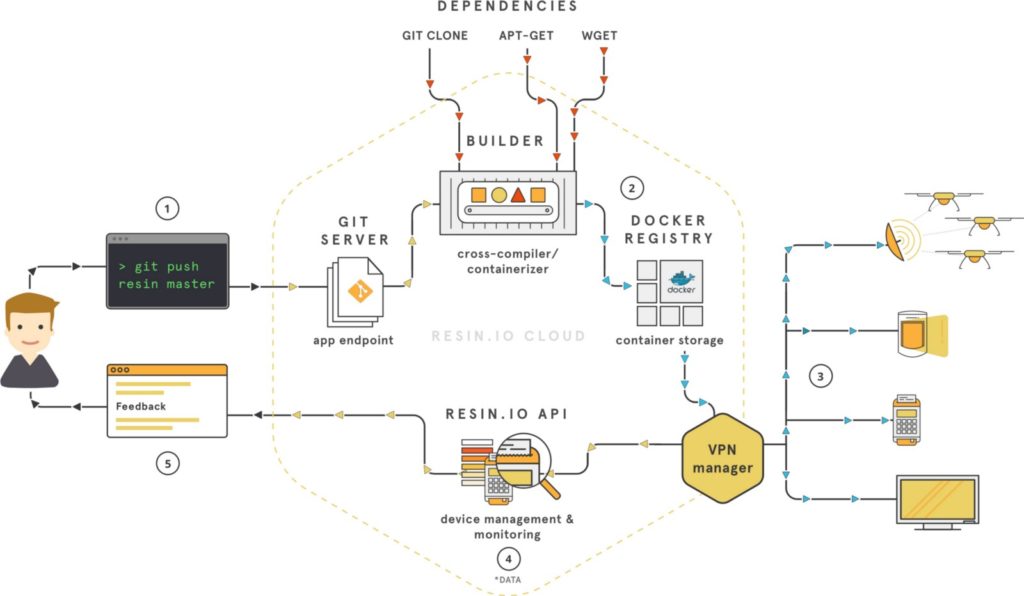
Making a Production grade IOT project is not just sending data from Device to Cloud and vice-versa, but it requires many other functionalities like
- Proper Security Standards
- Device Provisioning and management
- Storing and Visualizing telemetry data
- Rules to be implemented on the data
- User Management with RBA (Role Based Access)
Thankfully we already have an Open-Source IOT Platform – ThingsBoard which cater’s to all the mentioned needs and is free of cost.

ThingsBoard comes in 2 different editions:
The Community edition is Open-Source and it’s free of cost. On the other hand, the Professional edition offers additional features but comes with a cost attached. Also, both of these Editions can be Self-Managed or can be subscribed via ThingsBoard Cloud.
Here in this Article we will learn how to setup an Instance of the Open-Sourced ThingsBoard Community Edition on a cloud VM
ThingsBoard CE on Ubuntu Virtual Machine
Step 1 : Provision and Configure a VM as follows
- 1 vCPU
- 1GB RAM
- 25GB Hard Disk
- Ports Open : 8080(platform), 1883(mqtt), 5683(coap)
Step 2 : SSH into the VM and update the repo
sudo apt updateStep 3 : Install Java 11 (OpenJDK)
sudo apt install openjdk-11-jdk
sudo update-alternatives --config java
java -version
Step 4 : ThingsBoard service installation
# Download installation package
wget https://github.com/thingsboard/thingsboard/releases/download/v3.2.2/thingsboard-3.2.2.deb

# Install ThingsBoard as a service
sudo dpkg -i thingsboard-3.2.2.deb
Step 5 : Configure PostgreSQL for ThingsBoard database
# import the repository signing key and add repository contents to your system
wget --quiet -O - https://www.postgresql.org/media/keys/ACCC4CF8.asc | sudo apt-key add -
RELEASE=$(lsb_release -cs)
echo "deb http://apt.postgresql.org/pub/repos/apt/ ${RELEASE}"-pgdg main | sudo tee  /etc/apt/sources.list.d/pgdg.list

# install and start the postgresql service
sudo apt update
sudo apt -y install postgresql-12
sudo service postgresql start
Change password for the main postgres user
sudo su - postgres
psql
\password
\q

Ctrl+D to logout from postgres user
Create ThingsBoard Database
psql -U postgres -d postgres -h 127.0.0.1 -W
CREATE DATABASE thingsboard;
\q
Step 6 : Modify the ThingsBoard config file with PostgreSQL info
sudo nano /etc/thingsboard/conf/thingsboard.confAdd the following lines to the configuration file. Don’t forget to replace “PUT_YOUR_POSTGRESQL_PASSWORD_HERE” with your real postgres user password:
# DB Configuration
export DATABASE_ENTITIES_TYPE=sql
export DATABASE_TS_TYPE=sql
export SPRING_JPA_DATABASE_PLATFORM=org.hibernate.dialect.PostgreSQLDialect
export SPRING_DRIVER_CLASS_NAME=org.postgresql.Driver
export SPRING_DATASOURCE_URL=jdbc:postgresql://localhost:5432/thingsboard
export SPRING_DATASOURCE_USERNAME=postgres
export SPRING_DATASOURCE_PASSWORD=PUT_YOUR_POSTGRESQL_PASSWORD_HERE
export SPRING_DATASOURCE_MAXIMUM_POOL_SIZE=5
# Specify partitioning size for timestamp key-value storage. Allowed values: DAYS, MONTHS, YEARS, INDEFINITE.
export SQL_POSTGRES_TS_KV_PARTITIONING=MONTHS
Step 7 : Setup the Queue Service
By Default we use built-in and default – In-Memory queue service. For more options check this LINK
Step 8 : [OPTIONAL] make JAVA use fixed amount of RAM
Edit ThingsBoard configuration file
sudo nano /etc/thingsboard/conf/thingsboard.confAdd the following lines to the configuration file and save it.
# Update ThingsBoard memory usage and restrict it to 256MB in /etc/thingsboard/conf/thingsboard.conf
export JAVA_OPTS="$JAVA_OPTS -Xms256M -Xmx256M"
Step 9 : Run Installation Script
The –loadDemo flag will load sample data for tenants, customers and users.
# --loadDemo option will load demo data: users, devices, assets, rules, widgets.
sudo /usr/share/thingsboard/bin/install/install.sh --loadDemo
Step 10 : Start ThingsBoard service
sudo service thingsboard startNow you can access your ThingsBoard instance at http://[YOUR-IP-ADDRESS]:8080
The default system admin username and password will be : sysadmin@thingsboard.org / sysadmin
Bonus: Docker Installation
Another faster deployment strategy for quickly come up with ThingsBoard Instance is using Docker Container. Just execute the below commands and your instance will be up and running.
Install Docker first : Docker for Ubuntu
mkdir -p ~/.mytb-data && sudo chown -R 799:799 ~/.mytb-data
mkdir -p ~/.mytb-logs && sudo chown -R 799:799 ~/.mytb-logs
docker run -it -p 8080:9090 -p 1883:1883 -p 5683:5683/udp -v ~/.mytb-data:/data -v ~/.mytb-logs:/var/log/thingsboard --name mytb --restart always thingsboard/tb-postgres
Now we have installed the ThingsBoard platform, but there is a whole universe to be explored about how to use ThingsBoard to make your IOT application. Read the official and well put ThingsBoard documentation.

![How to Setup ThingsBoard IOT Platform on Cloud VM [Ubuntu/Debian] ThingsBoard-IOT-Platform](https://iot.samteck.net/wp-content/uploads/2021/05/thingsboard-IOT-Platform-720x300.jpg)

