At the time of writing this article, I was using Ubuntu 20.04 Focal Fossa which had nearly 20 new wallpapers. But if you have been using Ubuntu for quite some time you must be missing the old Ubuntu wallpapers which you were used to quite used to gaze.
Though it’s easier to just find the old Ubuntu Wallpapers on the internet, Download the image, and set them as your wallpaper, where is FUN in that. As a regular Ubuntu user, it is enthralling to use the command line to do our work. Let’s give some space for nostalgia to kick in.
So to download the Wallpaper of all Ubuntu versions execute the below command via terminal (shortcut : Ctrl+Alt+T).
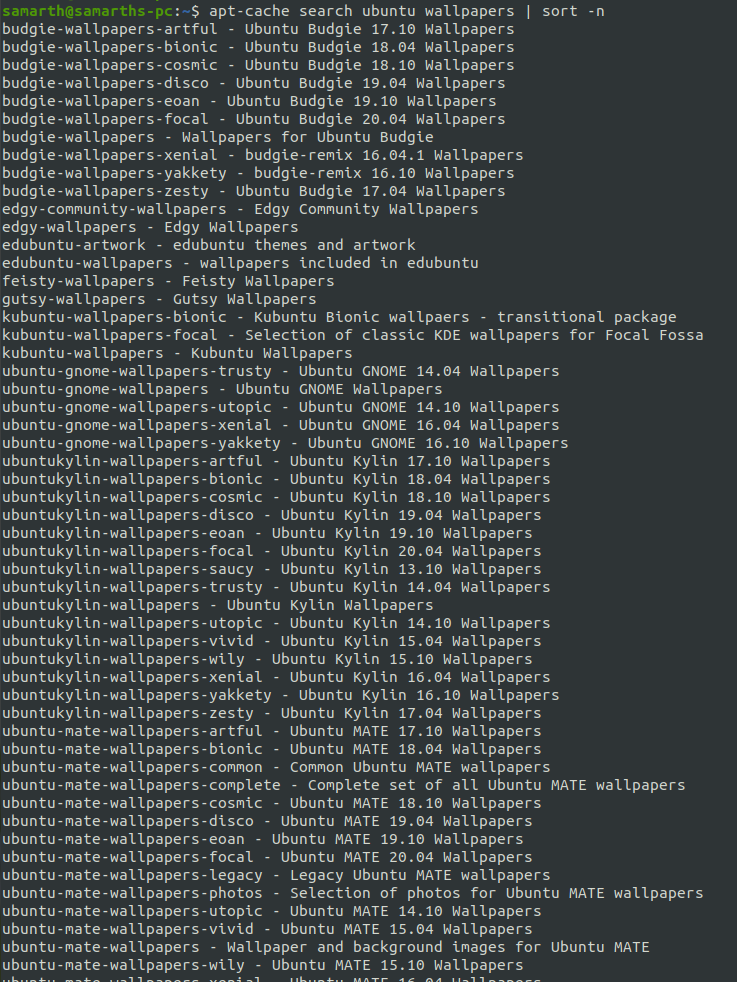
View Wallpaper Packages of all the Ubuntu Versions in sorted manner –
apt-cache search ubuntu wallpapers | sort -n
After this you can either choose a particular version to download or download almost all the wallpapers with the below command.
To download only particular wallpaper package use command.
sudo apt-get install [Wallpaper Package Name]
These wallapers will be download to the default Ubuntu wallaper directory : /usr/share/backgrounds
Once installed just open the default Ubuntu all to change the wallpaper, and all the wallpapers ever shipped with Ubuntu will be shown there. Enjoy!!!!
So, you flashed Ubuntu onto your SD card and booted Raspberry Pi for the first time, But realized that it’s not connected to the internet. Or maybe you just want to move from a wired Ethernet connection to WiFi. Well in this article we will discuss how to connect to WiFi using Ubuntu’s Netplan utility which is easy comparative to the wpa_supplicant utility which we used earlier..
Follow the steps below to Configure Wifi on Ubuntu
ip link show

# 1: lo: <LOOPBACK,UP,LOWER_UP> …
# 2: eth0: <BROADCAST,MULTICAST,UP,LOWER_UP> … state UP …
# 3: wlan0: <BROADCAST,MULTICAST> … state DOWN
3. Determine your-cloud-init.yaml and open for editing (prefix 50 most of the times)
cd /etc/netplan/
ls -l
# -rw-r--r-- 1 root root 666 May 15 22:00 50-cloud-init.yaml
### note your *-cloud-init.yaml file name

### backup *-cloud-init.yaml file
cp 50-cloud-init.yaml 50-cloud-init.yaml.bak

### edit *-cloud-init.yaml
sudo nano 50-cloud-init.yaml
4. Add WiFi access information to *-cloud-init.yaml file
# This file is generated from information provided by
# the datasource.  Changes to it will not persist across an instance.
# To disable cloud-init's network configuration capabilities, write a file
# /etc/cloud/cloud.cfg.d/99-disable-network-config.cfg with the following:
# network: {config: disabled}
network:
    version: 2
    ethernets:
        eth0:
            optional: true
            dhcp4: true
    # add wifi setup information here ...
    wifis:
        wlan0:
            optional: true
            access-points:
                "SamTeck":
                    password: "iot.samteck.net"
            dhcp4: true
Test, generate and apply the changed your-cloud-init.yaml config:
Testing: sudo netplan --debug try (continue even if there are errors)
Generate: sudo netplan --debug generate (provides more details in case of issues with the previous command)
Apply: sudo netplan --debug apply (if no issues during the previous commands)
Confirmation Test:
sudo reboot

### wait, then without the wired ethernet connected ...
ssh ubuntu@wifi-ip-address
This is way easier compared to the old wpa_supplicant method in which we need to install it separately and much more steps for configuration.
Any IOT system is incomplete without a Cloud Server that can collect/route the data. But before doing actual deployment on the cloud you want to test your server config or just do some local testing. Surely you can spin the server on your Raspberry Pi in the LAN but that may not be the case with everyone. Maybe you need more resources than RPi can offer or there isn’t any RPi lying around.
For such scenarios, we can always install the server in your localhost but it’s not recommended as any wrong config might break your host operating system. So it’s always better to play around on a VM in your local PC and just delete it if something goes wrong or you are done with your work. This type of VM that runs on your Host OS is called Type-2 Hypervisor.
To setup VM on a LINUX is much more simpler and efficient in terms of hardware utilization. To do this we have various options like VMware and Virtual Box but we will go with something RAW – KVM (Kernal Virtual Machine). Kernel-based Virtual Machine is a virtualization module in the Linux kernel that allows the kernel to function as a hypervisor. It was merged into the Linux kernel mainline in kernel version 2.6.20, which was released on February 5, 2007. This means it comes out of the box but we still need to install some additional packages which we will see in the steps below.
Check if your system supports KVM
Run the below command to find out if your PC supports virtualization.
egrep -c '(vmx|svm)' /proc/cpuinfo
An outcome greater than 1 means virtualization is supported and the number implies the number of CPU cores.
sudo apt install cpu-checker
sudo kvm-ok
The output “KVM acceleration can be used” clearly indicates we are on the right path.
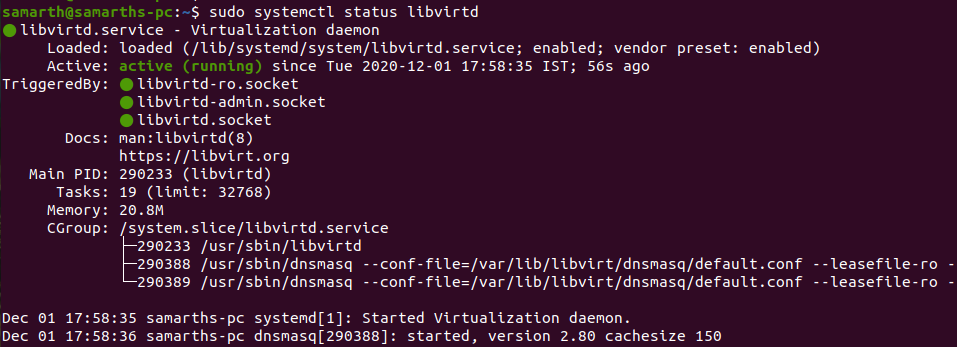
Installing KVM and other dependencies
Now that we are sure our system supports Virtualization, it’s time to install KVM and other dependencies.
Here we are giving all the specs (CPU, RAM, Network) and location of the ios file in one command and executing it. After running the command the VM installation will start (image at end of the post)
Creating a VM using Graphical Interface
The graphic interface is more or less like other VM offerings where we need to manually select the specifications and the iso file. To start the KVM Graphical interface execute the below command.
virt-manager
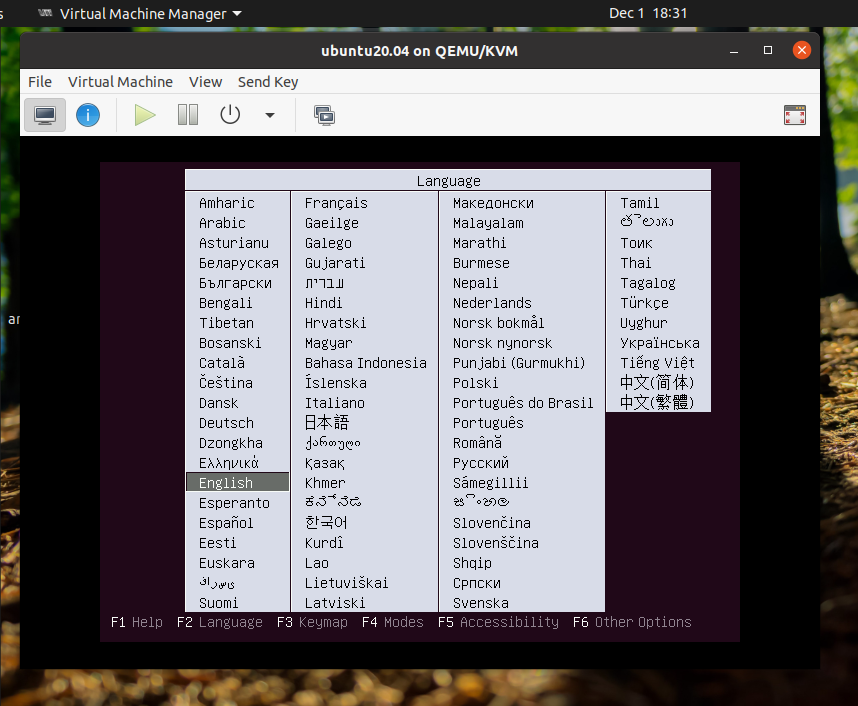
After this, a GUI application will open up you can begin by creating a new VM, select the local ISO file, hardware specs, and Network interface. And VM installing process will start as shown in the image below.
Afterward just continue with the steps as usual ubuntu installation: setting the username, PC-name, password, locale, etc. And after boot up, you need to need to set the screen resolution. Moreover, this VM will be a part of a virtual network virbr0 and will have a NAT IP address.
Now you can use a GUI-based OS interface to access this server or you can just ssh onto it from your host computer. There is another way to put this VM in your actual LAN using Bridge mode thereby your VM getting the IP address directly from your router, which we will discuss in the next post.
To understand the co-relation between all these terms we need to go back a little bit in time, say the 1960’s. In early 1960, the AT&T Bell Laboratories, MIT and General Electric started developing a time-sharing operating system called MULTICS (Multiplexed Information and Computing Service). The project went on till 1967 when things didn’t work out and the project was dropped.
But, Interestingly two of the scientists named Ken Thompson and Dennis Ritchie (creator of C language) continued their work. They worked on UNICS (Uniplexed Information and computing system) which was made on a machine named PDP-7. Later this was renamed UNIX (but license fees were not affordable by everyone especially students)
Then from where did, LINUX came into the picture?
So there was a guy named Linus Torvalds who was pursuing his masters in a Finnish university. He wanted to buy a license for UNIX but luckily he didn’t have enough money (which turned out good for us). So he decided to make a clone of UNIX from scratch called LINUX [“Linux: A Portable Operating System” was the title of his thesis in M.Sc.]. JFYI he also created GIT to manage the files while he was creating Linux.
Now its time to get Technical!!!!!!!
Let’s again start from the beginning.
A Computer OS is a piece of software that acts as the base of a computer. It does critical tasks like assign memory and start applications.
An OS runs on top of an even lower level program called a Kernel. A Kernel is written in machine-level languages, and interacts directly with the hardware and gives driver support.
Now that you know the base, let’s start with the answer. Unix and Linux are both popular Kernels. Both have their own advantages and fans.
Unfortunately, a kernel cannot act as an OS on its own. It misses essential features, such as – putting an image to a screen, copying data to the hard drive and basic software like a text editor. That is where GNU comes in. When Linus Torvalds wrote an awesome piece of open-source software called Linux, Richard Stallman wrote a suite to run on it called GNU. The combination of GNU and Linux has become ubiquitous to the point that the duo is often referred to as just “Linux“
When it comes to Linux, GNU/Linux isn’t enough to run a modern PC on its own. So it gives programmers the ability to go ahead and write their own versions of GNU/Linux. These different versions, called Distros or Distributions, differ in their base software. So two Distros can have different package managers, text editors, terminal applications, calculator apps, etc.
Each Linux Distribution is typically tailored for specific target systems, such as servers, desktops, mobile devices, embedded devices, etc.
There are mainly 3 popular parent Linux distros
DEBIAN
RED-HAT
Slackware
(1 more mention being android)
Ubuntu Distro Based on Debian
All the software present in a Linux distro is managed by a Package Management System. This manager keeps a log of all the programs installed on your system, keeps a listing of all programs NOT installed on your system, and easily identifies upgradable programs. A Linux user MUST be familiar with the package manager in order to install the software.
Below is the list of package management systems of popular Linux distros
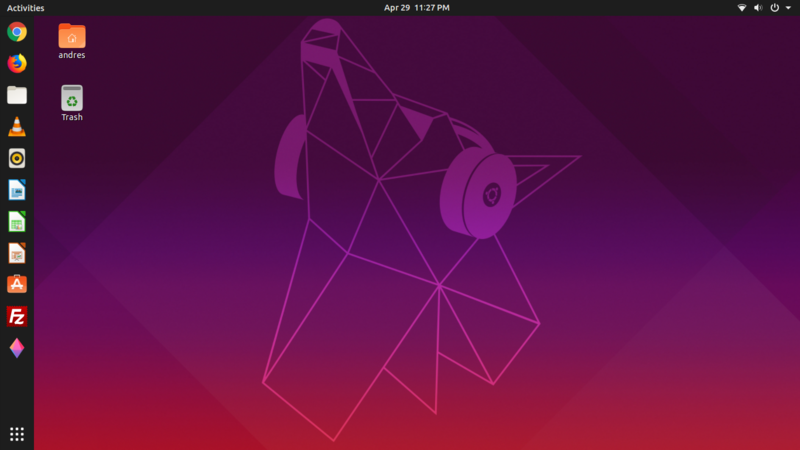
Now, on top of a Linux Distro, run certain programs called Desktop Environment. These DEs are used to change the look and feel of the distro. Most DEs can run on the majority of Distros, so you have your own choice when customising your desktop. Popular DEs include
GNOME
KDE
UNITY
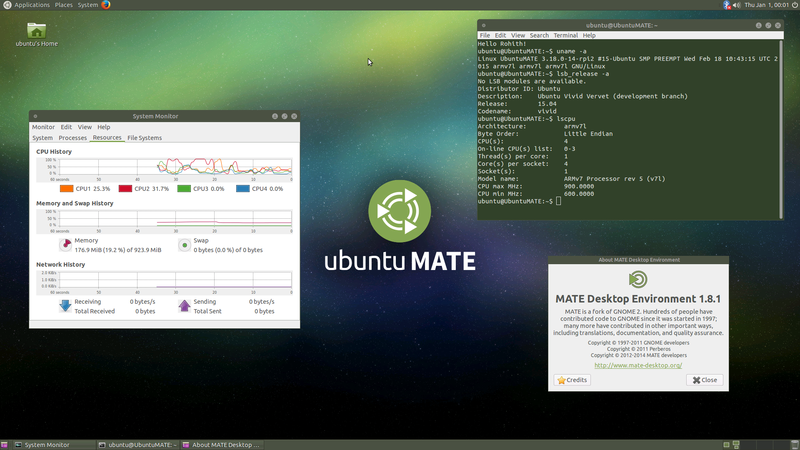
MATE
LXDE
Xfce
Ubuntu with Mate Desktop Environment
Wrapping up all and bonus point
– Kernel interacts with hardware
– Linux distro adds software(using a package manager) on top of the kernel
– Linux flavors add more features as per their unique use case
– Desktop Environment gives GUI interface