What are ESP32, ESP8266 Modules and Development Board

ESP32_chip_ic

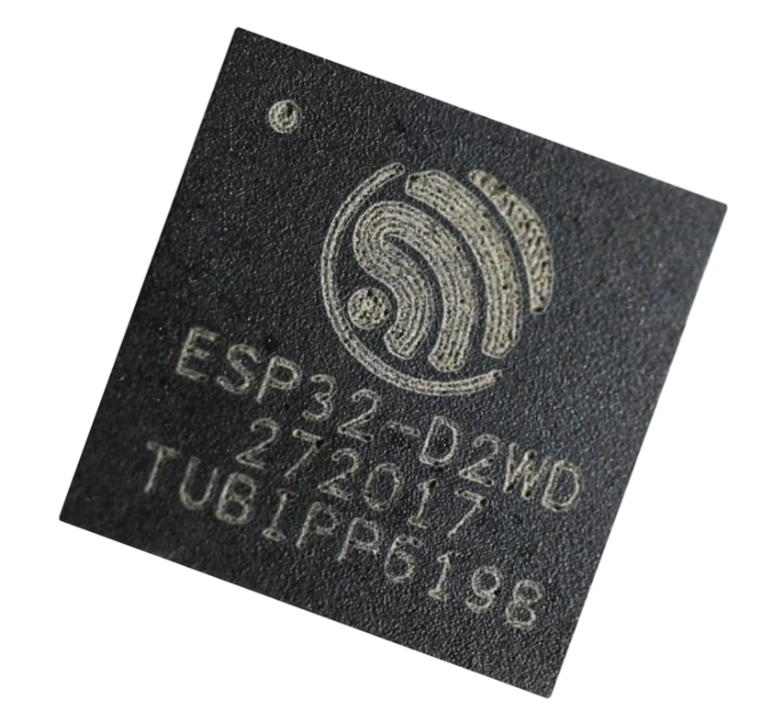
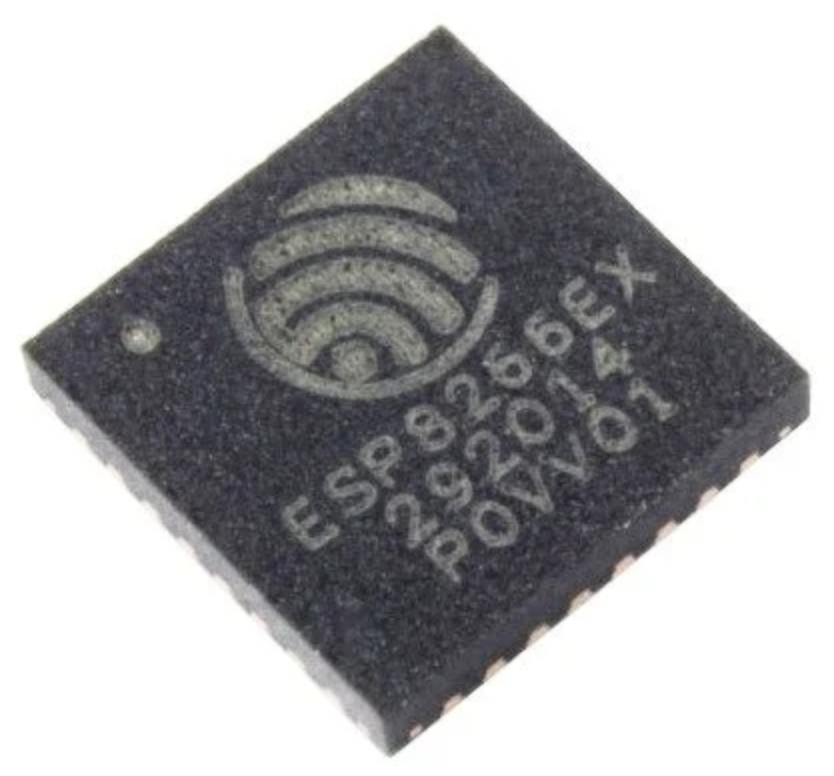
One of the major factors which contributed towards the massive explosion of IoT devices in our day to day life is cheap Silicon. There are so many silicon manufactures that are providing highly capable MCU’s for fraction of the cost. One such manufacturer is EspressIf which makes 2 very famous chips with networking capabilities: ESP8266 & ESP32 (photos below).

ESP8266EX-Chip-ICESP32_chip_ic


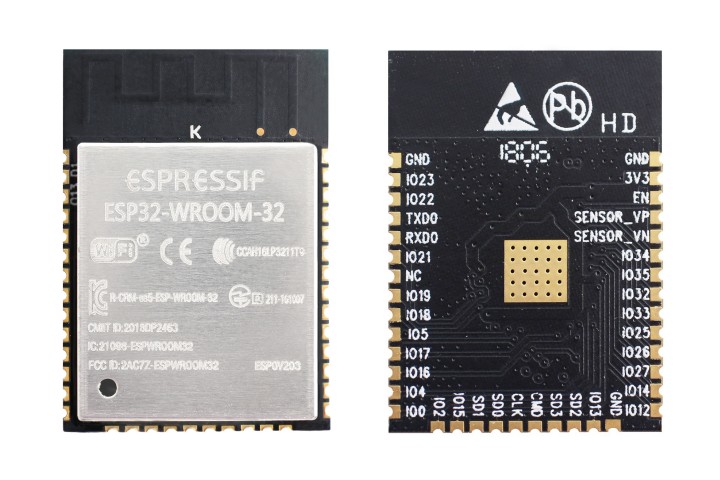
Mind you, these chips are embedded onto the modules with which most people are familiar. Have a look at the ESP32 module below. These modules go on top of the IoT PCB which we design. Moreover, these modules can be used as MCU+Network_IC (Hostless) or as Network_IC and external MCU (Hosted).

esp32-wroom-32-module


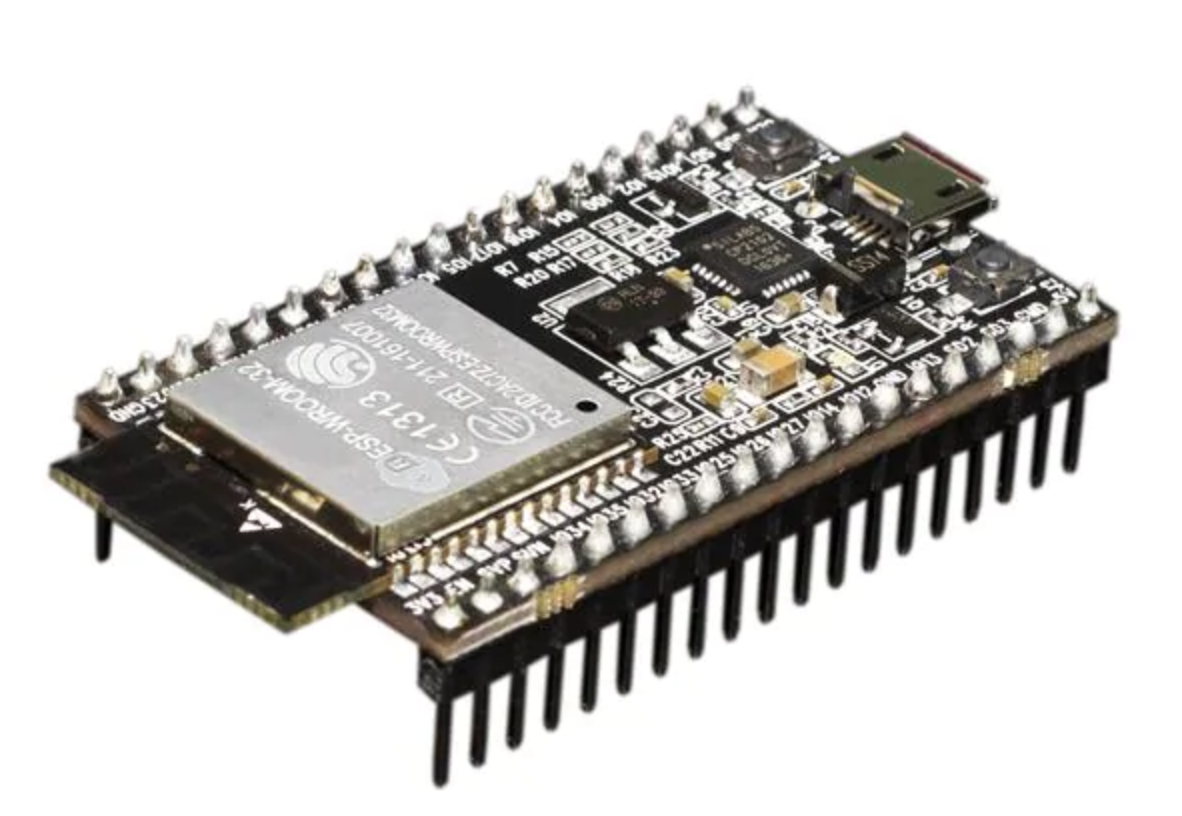
Also, there are Development boards/kits available in the market (image below) which are used to prototyping and learning about these boards. They provide an easy development environment and various debugging features which helps to come up with the binary code(firmware), which goes onto the ESP Module.

ESP32-developer-kit

ESP 8266 Specifications

  • Tensilica Xtensa LX106 32 bit RISC CPU running at 80 MHz
  • On-board Wi-Fi (2.4 GHz)
  • Integrated 10 bit analog to digital converter
  • SDIO 2.0, (H) SPI, UART, I2C, I2S, IR Remote Control, PWM, GPIO
  • 16 GPIO Pins
  • UART – 2x TX and 1x RX
  • Operating Voltage : 3.0 ~ 3.6V
  • Average Operating Current: 80mA
  • Operating Temperature : -40°C ~ 125°C
  • Frequency Range : 2400 ~ 2483.5MHz

ESP 32 Specifications

  • Tensilica Xtensa LX6 microprocessor @ 160 or 240 MHz
  • On-Board Wi-Fi and Bluetooth
  • ADCs, DACs, I²C, UART, CAN 2.0, SPI, I²S, RMII, PWM

Head onto this amazing article on Difference b/w ESP32 & ESP8266

Python – What is a Program ?

Before beginning with learning Python programming we need to understand what is a Program (more specifically Computer Program).

A Program is a sequence of instructions that specifies how to perform a computation. Computation can be anything like – taking input from user and perform mathematical operations, solving for roots of an equation or playing a audio/video file.

For different programming languages, the specifics to do these tasks can be different. But few basic instructions(below) appear in just about every language.

INPUT : take input in the program (can be user input from keyboard, a file, some data from network or other device)

MATH : performing basic mathematics operations (addition/subtraction)

CONDITIONAL EXECUTION : check for certain conditions and taking appropriate action

REPETITION : perform some action repetitively (that’s what computers are known for…)

OUTPUT : displaying the final output of program on screen, saving in a file or sending over a network/ other device

That’s the basic outline of every program you will ever gonna write.

So in a nutshell PROGRAMMING is the process of breaking a large and complex task into smaller and smaller sub-tasks until sub-tasks are simple enough to be solved with the basic instructions given above.


What is NTP/SNTP Protocols, How NTP works

What is NTP/SNTP Protocols, How NTP works

The Network Time Protocol is a Networking Protocol which is used to synchronize time for nodes in a Network. NTP is one of the oldest protocol in the TCP/IP stack which is still in use. NTP is intended to synchronize all participating computers to within a few milliseconds of Coordinated Universal Time (UTC).
The protocol is usually described in terms of a client-server model, but can as easily be used in peer-to-peer relationships where both peers consider the other to be a potential time source.

How NTP works

NTP works on IP port – 123 and to run NTP we first install NTP daemon (ntpd) on both Time Provider(server) and Time Consumer(client)

The NTP client initiates a time-request exchange with the NTP server. As a result of this exchange, the client is able to calculate the link delay and its local offset, and adjust its local clock to match the clock at the server’s computer. As a rule, six exchanges over a period of about five to 10 minutes are required to initially set the clock.

Once synchronized, the client updates the clock about once every 10 minutes, which prevents the time drift from happening. In Other words ,large adjustment are made quickly and small adjustment are made over a period of time.


NTP Stratum

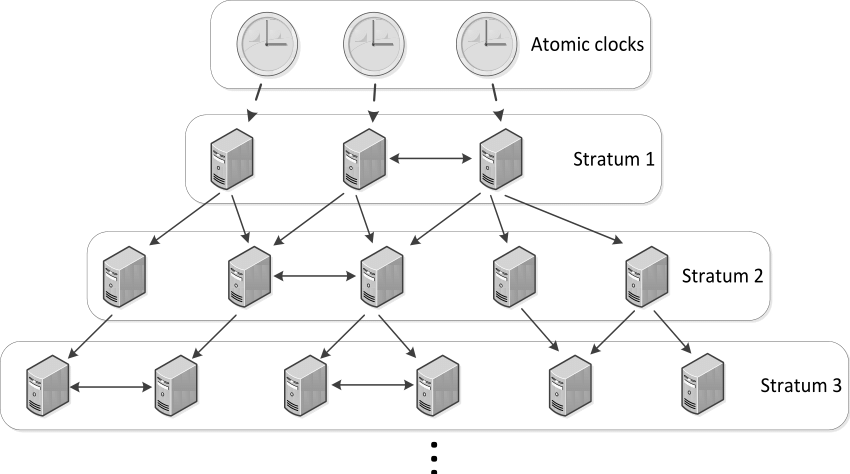
ntp-stratum

NTP uses the concept of stratum to define the hierarchy of NTP servers. At top of the hierarchy are Stratum 1 which gets their time from Atomic clocks which tells exact time at the moment.

Similarly Stratum 2 time providers get their time from Stratum 1 time provider and Stratum 3 from Stratum 2. And these stratum can go upto 256 layers.

There are many Stratum 2 servers available on the public internet which we can use for couple of PC. But if you have large number of PC’s in the network it is wise to create a local stratum (maybe 2-3) which get its time from Stratum 2 time provider and PC’s in your local network can get time from its local Stratum.


Some important terms related to NTP

Stepping: When time difference between consumer and provider is large then time adjust are made more quickly ~1min.

Slewing: When time difference is very less ~128ms the ntp will adjust time gradually around every 17 minutes

Insane Time: If time difference between consumer and provider is more than 17 min, then ntpd treats that time to be insane.

Drift: Your clock will drift due to fluctuations in the frequency oscillating the quartz crystal on your motherboard. A fluctuation of just 0.001% (0.00001, or 10 PPM) means losing or gaining about 1 second per day.

Latency: The time delay between when data is sent on a network to when it is received. Latency can make it difficult to synchronize processes over a network, especially when the latency is variable. The latency is added to the time it got from server to get the exact time.

Jitter: It is a measurement of the variance in latency on the network. If the latency on the network is constant, there is no jitter.


Configuring NTP

Here we will see how to configure a system to use NTP

#installing NTP on linux machine
yum install ntp
apt-get install ntp

Now we will edit the server for NTP. Open the file /etc/ntp.conf

And edit the server info as [server server_address]

you can get list of server from https://www.pool.ntp.org/en/. From the website choose the server closest to your geographical location.

Remembered, previously we talked about Insane Time (where system and server time difference is more than 17min), to prevent such situation we run below command to update the system time (close to actual time) to eliminate insane time issue

ntpdate server_address

#you can use google public ntp server 
#sometimes you need to run it more than once
ntpdate time.google.com

Note : Before running the above command make sure to turn of ntpd by [ntpd off] and start after executing above command [ntpd on].

Monitor time synchronization : ntpq -p , ntptrace
Log File of NTP :  /var/log/ntp.log


How is SNTP different from NTP ?

Simple Network Time Protocol (SNTP) is a simplified, client-only version of NTP. SNTP can receive only
the time from NTP servers; it cannot be used to provide time services to other systems.

SNTP typically provides time within 100 milliseconds of the accurate time, but it does not provide the complex
filtering and statistical mechanisms of NTP. In addition, SNTP does not authenticate traffic, although you
can configure extended access lists to provide some protection. An SNTP client is more vulnerable to servers
that have unexpected behavior than an NTP client, and should be used only in situations where strong
authentication is not required.

So that all to get the basics of NTP protocol if you are more interested to dig in, do visit Cisco NTP

Git – The Layman’s Guide : BASIC CONCEPTS and COMMANDS

GIT is basically a distributed repository (place to store code) where multiple contributors can work simultaneously and collaborate their work. It also serves as a Version Controls System (system that records changes to a file or set of files over time so that you can recall specific versions later).

GIT-branches

GIT allows you to revert files back to a previous state, revert the entire project back to a previous state, review changes made over time, see who last modified something that might be causing a problem, who introduced an issue and when, and more. It can also help in the situations where someone screwed up the code and it’s not working anymore. You can use the Version Control System to revert back to a safe version where everything was working perfectly normal.

GIT WORKFLOW

It is very important to understand GIT workflow. Let us learn a few key terms

Repository: This is your project (collection of source code). This is a GIT specific term and is a standalone unit for your project.

Working Directory: This is the working directory of your code. Here you edit your code and save changes.

Staging Area: When you are confident about your code and want to save it to the repository, You first bring it to the Staging area. You can bring your files in a sequential manner to the staging area.

Local Repository: When you have all the files you wanted to modify in the staging area and finally want to make changes to your repo, you save it to your local repo.

Remote Repository: Remote repo is a repository on a remote server which acts as a central repo for your project. Once you are 200% confident about your code. You move it to the remote repo.

Below diagram clearly explains how your code moves in the GIT environment.
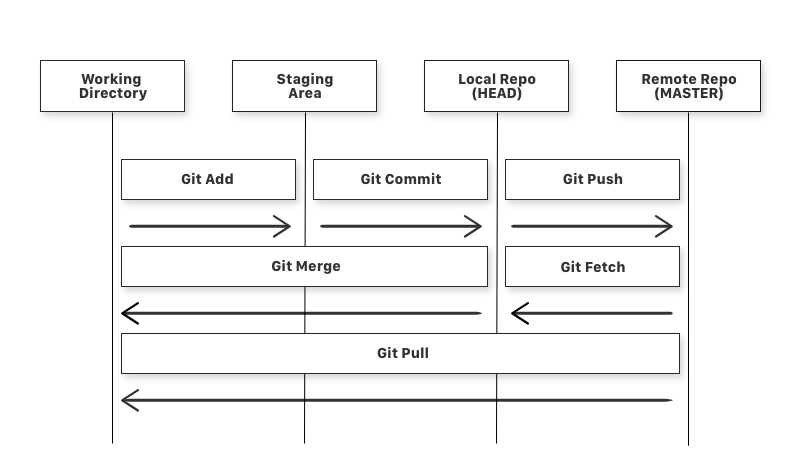
GIT-data-flow-diagram

Commands in Detail :

  • git add: add a file from working directory to staging area
  • git commit: add files from staging area to local repo
  • git push: add files from the local repo to the remote repo
  • git fetch: get files from the remote repo to the local repo (not working directory)
  • git merge: get files from the local repo to the working directory
  • git pull: get files from remote repo directly to the working directory (same as git fetch and git merge)
  • git status: gives info about all the files which are yet to be committed (to local repo)

These are the basic commands to use while working with GIT. How we will see how to use Git to work with our code.

STEP BY STEP guide to initializing and working with GIT

Check weather GIT is installed

$ git --verison


Tell GIT about your identity

$ git config --global user.name "YOUR_USERNAME" 
$ git config --global user.email "me@samteck.net"

$ git config --global --list # To check the info you just provided


Generate SSH and add to your GitHub account (more on ssh keys)

$ ssh-keygen -t rsa -b 4096 -C "me@samteck.net"

$ ssh -T git@github.com   # check your ssh connection

– Copy the public ssh key (id_rsa.pub) from /.ssh folder in your home directory to SSH settings in your GitHub account


Lets GITify our first directory
Navigate to your working directory (in terminal) and initialize the directory with

$ git init

this will create a hidden folder in the working directory where info about the repo will stored. Also, there is a file called – .gitignore (it stores the info about the files in the working directory which need to ignored in repo like OS related files)

Add files to the staging area (Index: view of your working directory that is ready for commit)

$ git add .   # add all the files in that folder

$ git add *file name*   # add specific files to staging area

Before committing the changes we can check the status of the working directory (staged and unstaged changes)

$ git status

When all the changes are staged we can commit our code which will be then stored in the local repo. It is a good practice to add a message with every commit so that other users can see what modification has been made. Also, it’s better to sync your workspace with remote repo before committing to check that no other commits were made on remote repo by any other user.

$ git commit -m "First commit"

NOTE: every commit can be identified with a commit hash (SHA-1). On Github, you can view that commit from below URL

https://github.com/<owner>/<project>/commit/<hash>

Also, you can uncommit a change by

$ git reset HEAD~1

Add Remote Origin

Now we have created a local repo, but to add it to a remote repo we need to provide the address of remote repo

$ git remote add origin remote_repository_URL   # sets the new remote

$ git remote -v   # List the remote connections you have to other repositories.

$ git push -u origin master   # pushes changes to origin

Now you have successfully created a local repo and pushed it to the remote repo. If you open your GitHub account, you can see that your repo is available remotely on GitHub.

Useful GIT Commands

$ git diff   # To show the files changes not yet staged

$ git log    # view commit history

$ git clone remote_repository_URL   #download remote repo to working directory

$ git pull origin master         # update your local repo with changes on remote repo

$ git checkout <branch/commit>   # check out desired status of repo

When you git fetch, Git gathers any commits from the target branch that do not exist in your current branch and stores them in your local repository. However, it does not merge them with your current branch. This is particularly useful if you need to keep your repository up to date, but are working on something that might break if you update your files. To integrate the commits into your master branch, you use git merge.

Basically, this will be your control flow which you will be using most of the times.

$ git add .

$ git status # Lists all new or modified files to be committed

$ git commit -m "Second commit"

$ git push -u origin master

That’s all for the basic understanding of GIT. Thanks for reading.
Introduction to SSH (Secure Shell) Protocol

We have many times logged onto servers via ssh command using our terminal or if you are a windows user you must have used putty to login to any cloud servers (AWS for example).  But do we know how exactly SSH protocol works?

ssh-protocol

SSH stands for Secure Shell which is a secure way of connecting to a public server over the internet. SSH is widely used by network administrators for managing systems and applications remotely, allowing them to log into another computer over a network, execute commands and move files from one computer to another.

SSH works on Client-Server model: Client is where the session is displayed and Server is where session runs. SSH by default runs on TCP port 22.


The most basic use of using ssh is ssh username@server

ssh root@172.20.10.2

This command will cause the client to connect to the server (172.20.10.2) with the username (root) given. Afterwards, for first-time connections the user will be prompted with the remote host’s public key fingerprint and prompted to connect, despite there having been no prior connection:

The authenticity of host '172.20.10.2' cannot be established.
DSA key fingerprint is 01:23:45:67:89:ab:cd:ef:ff:fe:dc:ba:98:76:54:32:10.
Are you sure you want to continue connecting (yes/no)?

Answering “yes” to the prompt will cause the session to continue and the host key is stored in the local system’s known_hosts file. This is a hidden file, stored by default in a hidden directory, called /.ssh/known_hosts, in the user’s home directory. Once the host key has been stored in the known_hosts file, the client system can connect directly to that server again without the need for any approvals: the host key authenticates the connection. Afterwards, it will prompt you to enter the password and a secure connection will be established.

The known_hosts files can sometimes be exploited by hackers. Also adding username and password in automated scripts can put your server to risk as anyone with access to source code can view those details.

To overcome these problems we use SSH KEYS (click for more info).

Anatomy Of Internet Of Things : Hardware & Services

internet of things green linked image

Internet of Things is a buzzword these days in the IT sector. With all new devices and services introduced everyday and big players of IT industry like Google and Apple launching there IOT devices, it looks like its going to be a big breakthrough in the world.

internet of things green linked image

Though many people are aware of the concept of Internet of Things but certainly they don’t have enough knowledge regarding the hardware and software used.

Here at Weock we have dissected the concept of IOT in a way so that all the scattered pieces in the mind of our audience are joined together.

The Hardware Squad

The hardware squad make up the visible section of your project. It consists of all the sensor, boards and communications devices.

A. IOT Devices

These devices make up the mainframe of you IOT project

1. Embedded System Boards

The embedded system boards are the brain of your project in which your program will run. You might even have one of these boards with you

  • Arduino
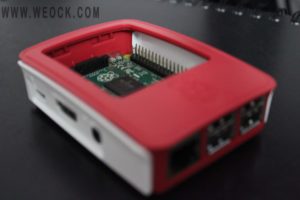
  • Raspberry Pi
  • Intel Galileo
  • Gadgeteer
  • Beaglebone
  • Cubieboard
  • Electric Imp
raspberry pi iot
Raspberry Pi

2. Wearables

These are the devices which can be worn on your body and they will collect data and give information. If you are not a hardware freak then you can buy one of these wearables and start writing programs.

  • Google Glass
  • Samsung Gear 2
  • Pebble Watch
  • Misfit Shine
  • Android Wear
samsung galaxy gear 2
Samsung Galaxy Gear 2

B. Sensors and Actuators

Sensors and Actuators are the devices which collect data and act on the environment.

(we will be explaining each of these devices very soon)


1. Sensors

Sensors collect data from environment and give the data to microcontroller for processing

  • Temperature Sensor (eg. DHT11)
  • Light (eg. LDR, IR)
  • Radio (eg. RF and FM)
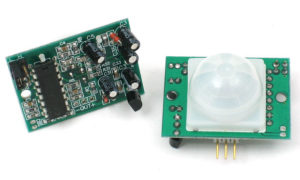
  • PIR motion Sensor
  • Ultrasonic Sensor (eg. HC-SR04)
  • Air Quality Sensor
pir-sensor
PIR Sensor

2. Actuators

Actuator are electronics devices which act on the environment based on instructions given by micro-controller

  • Servo Motor
  • Gear Motor

3. Display

Used to display necessary information

  • TFT
  • 7 segment display
  • LED
  • LCD display

4. Relay and Switches

Used to turn devices ON/OFF

C. Smart Devices (connectivity)

These are modules which help in establishing communication between various devices

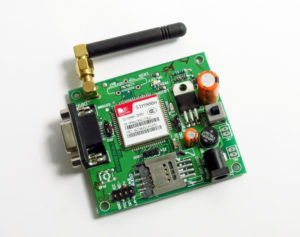
  • GPSgsm module iot
  • GSM
  • BLE
  • WIFI
  • GPRS
  • RFID
  • NFC


The Platform and Services Squad

These are the technologies which are currently being used in the field of Internet Of Things.

  1. RIOTifttt-logo
  2. Carriots
  3. Lithouse
  4. Sensinode
  5. IFTTT (if this than that)
  6. Arrayent
  7. Alljoyn
  8. ioBridge

Congratulations, if you read the whole article then you have successfully dissected the giant know as Internet Of Things. These are all the concepts which make up the IOT.

If you like our article then Share US among your friends and please give your suggestions and feedback.

Arduino: What, Who and How to use it | Learn Arduino Basic

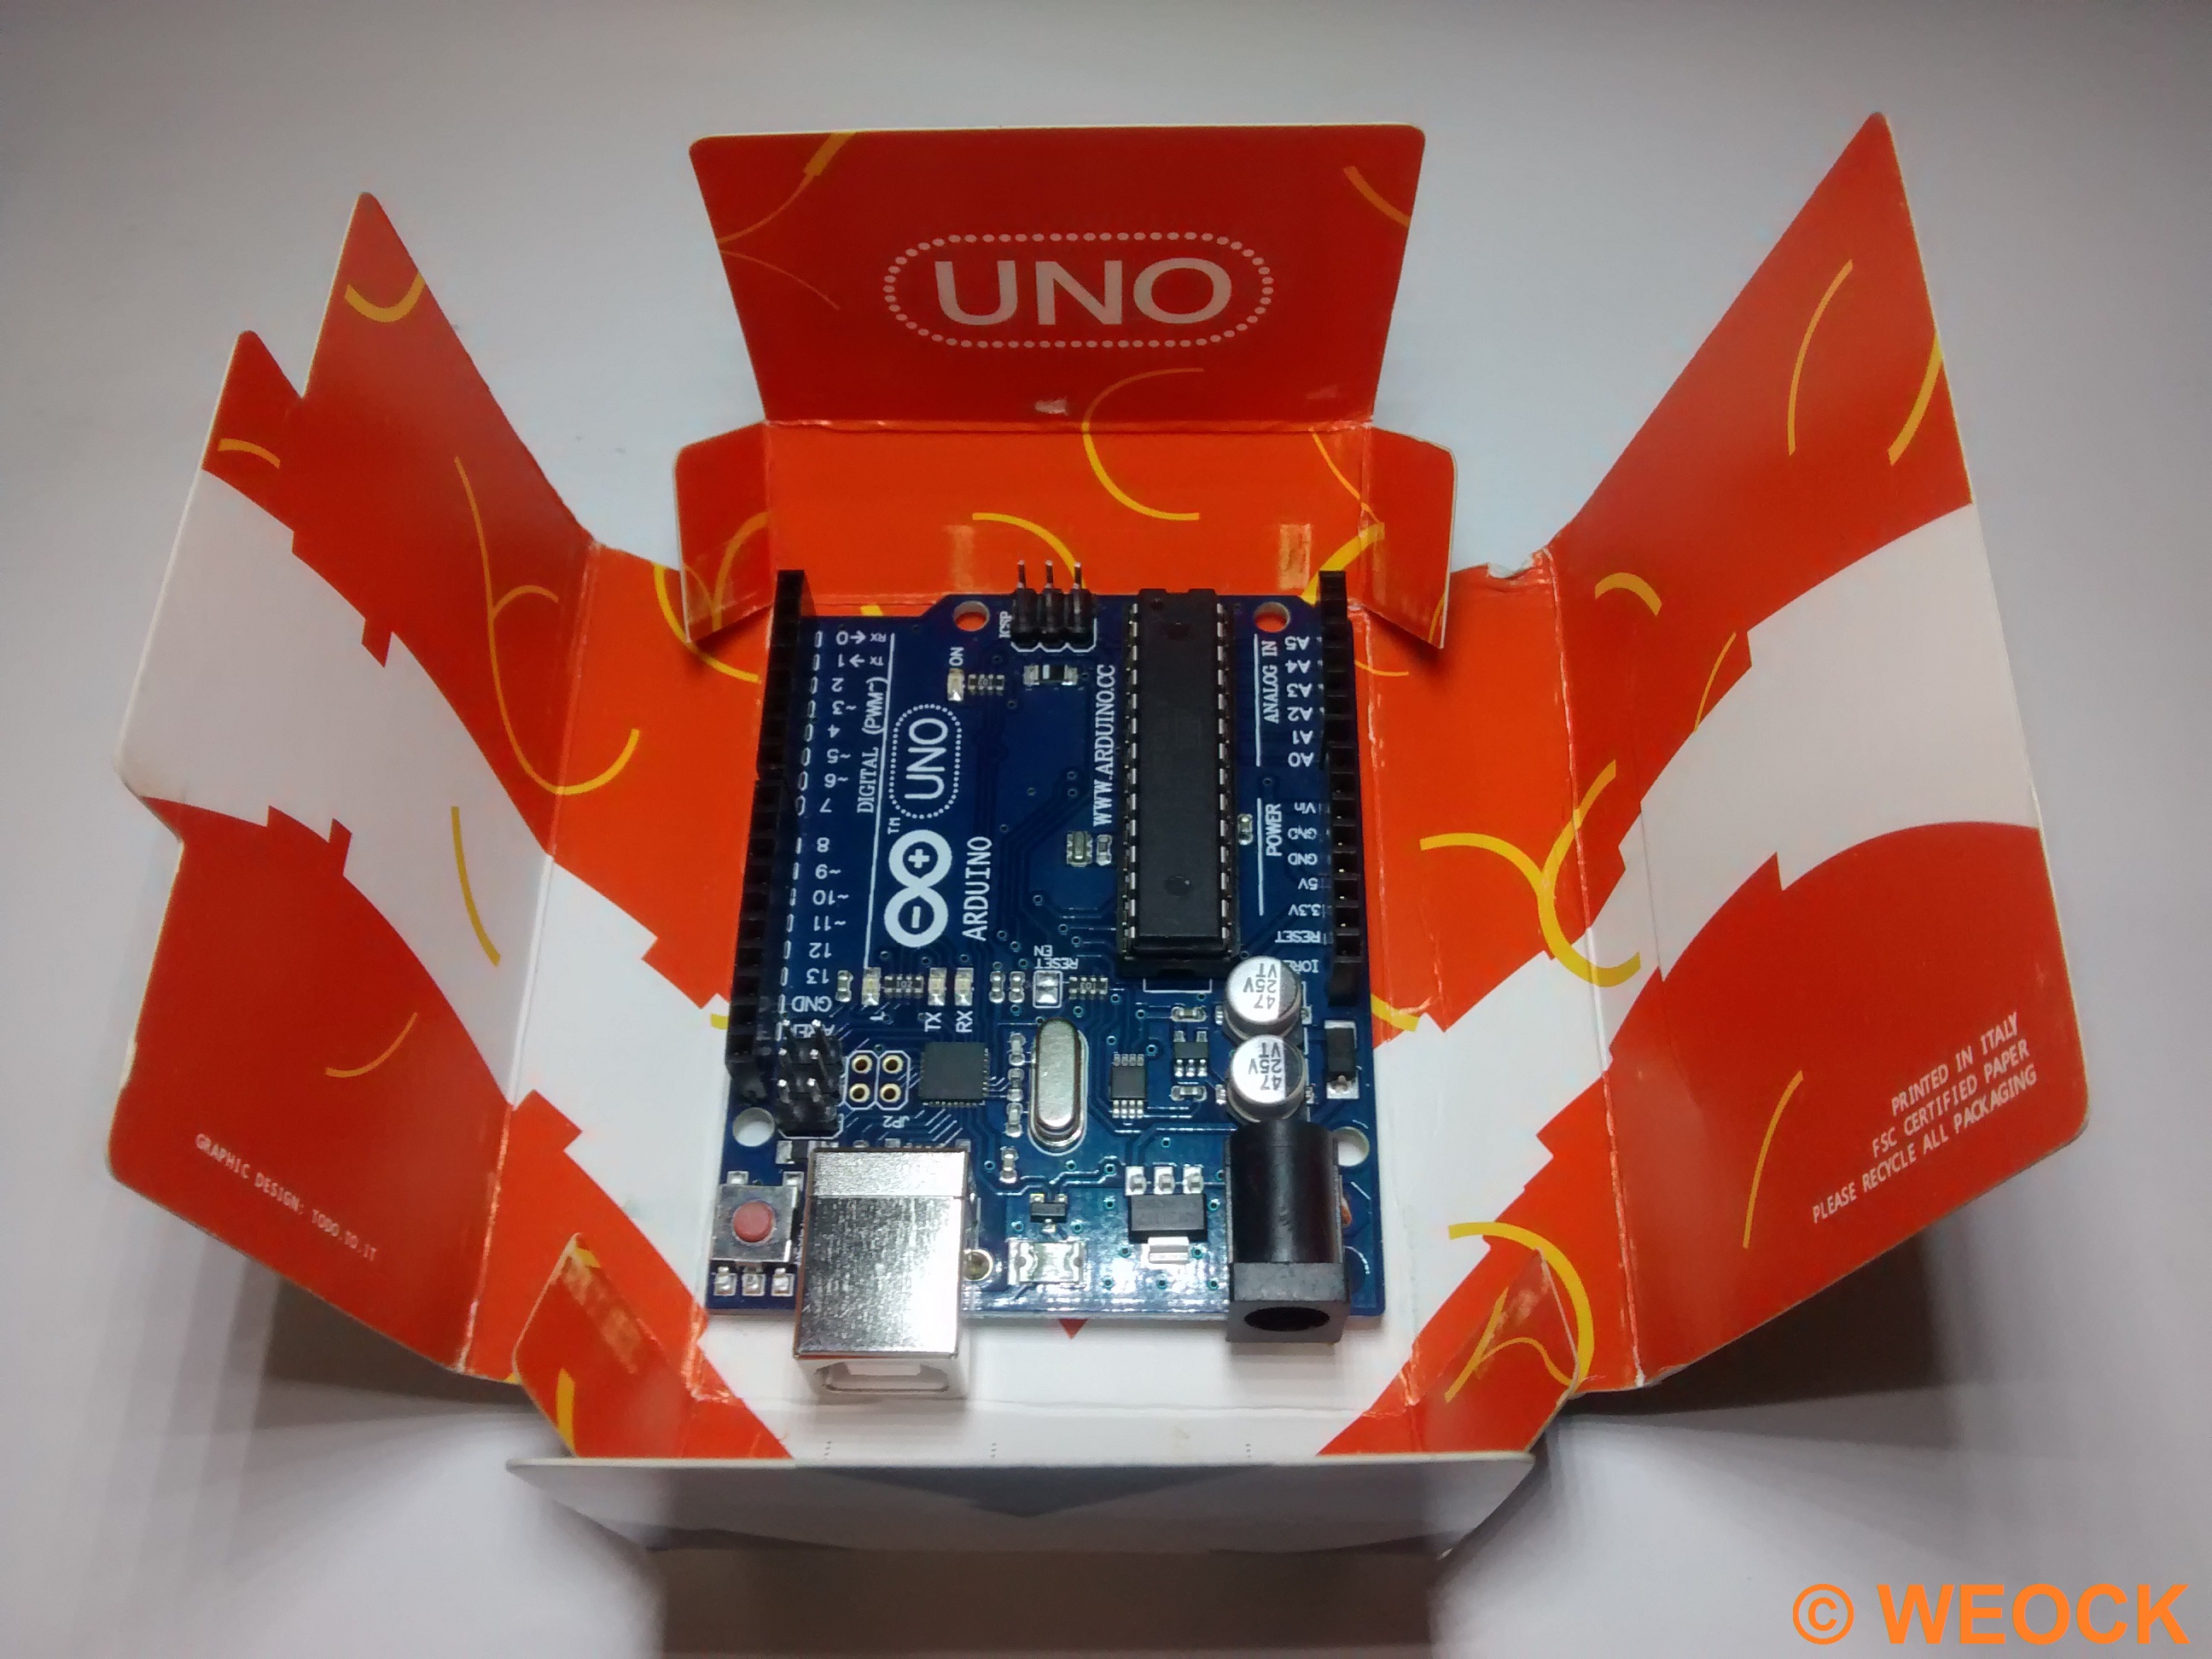
arduino in original box

If you are a electronics hobbyist or if you are from engineering background then you have probably heard about ARDUINO. If yes then well and good and if not then I will tell you about it in the following post……..

arduino in original box

So first question

What is Arduino ?

Arduino is an open-source electronics platform based on easy-to-use hardware and software. It’s intended for anyone making interactive projects.
Basically it is an “open-source” means anyone can use and modify it and sell their own version without taking the permission of original owner.
It is a electronics board which helps you to

Make Your Own Hardware, Run Your Own Program

Who Should Use Arduino ?

Arduino can be used by any one whether a person with electronics as a interest or a enginnering student to make models or some person who wants to interact with its computer using sensors.
Arduino is an inexpensive board which is available for nearly $25 ( 1500) but having endless possibilities.

How to use Arduino ?

Using arduino is no big deal, technically its just like plugging your pendrive and start working with it.
But there are various steps to configure arduino which you can learn by Clicking Here.

arduino plugged into usb cable

So basically Arduino is an open-source microcontroller which you can use to play around and interact with the physical world present around you. So pursue you hobby and happy Arduinoing.