
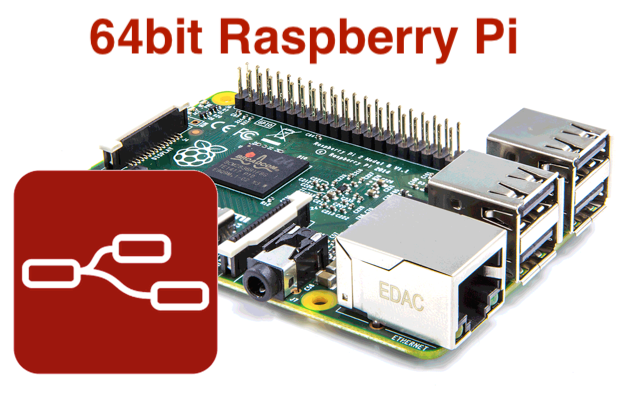
Node-Red has been the go-to use tool for Prototyping IOT projects and the same goes for Raspberry Pi. But till recent times Raspberry Pi OS (RIP Raspbian) was only available in 32bit armhf architecture. However, a 64bit image for Raspberry was released in beta mode and it’s quite stable.
I don’t what took these guys to release a 64bit image so late even though raspberries have been fitted with 64bit processors for quite some time, but better stable than crashing.
Download and Flash 64bit Raspberry Pi OS
Here: https://downloads.raspberrypi.org/raspios_arm64/images/raspios_arm64-2020-08-24/
Just follow the usual steps to flash this image onto sd-card via etcher and plug it into Raspberry Pi (just note that this image will run only with RPi-4 and RPi-3)
Setup your Raspberry pi as usual and get ready for the next section of this tutorial.
Installing Node-Red on 64bit Raspberry Pi OS
So installation of Node-Red on 64bit version of Raspberry Pi OS is quite similar to any other version as the package managers will take care of fetching the 64bit version from the mirrors.
– sudo apt-get update
– sudo apt-get dist-upgrade
– curl -sL https://deb.nodesource.com/setup_10.x | sudo -E bash –
– sudo apt-get install -y nodejs
– sudo npm install -g –unsafe-perm node-red
That’s all, now you can run the Node-Red server by typing node-red in your terminal and opening http://localhost:1880 to access the console.
Run the below command to start Node-Red in Background: sudo nohup node-red &