Any IOT system is incomplete without a Cloud Server that can collect/route the data. But before doing actual deployment on the cloud you want to test your server config or just do some local testing. Surely you can spin the server on your Raspberry Pi in the LAN but that may not be the case with everyone. Maybe you need more resources than RPi can offer or there isn’t any RPi lying around.
For such scenarios, we can always install the server in your localhost but it’s not recommended as any wrong config might break your host operating system. So it’s always better to play around on a VM in your local PC and just delete it if something goes wrong or you are done with your work. This type of VM that runs on your Host OS is called Type-2 Hypervisor.

To setup VM on a LINUX is much more simpler and efficient in terms of hardware utilization. To do this we have various options like VMware and Virtual Box but we will go with something RAW – KVM (Kernal Virtual Machine). Kernel-based Virtual Machine is a virtualization module in the Linux kernel that allows the kernel to function as a hypervisor. It was merged into the Linux kernel mainline in kernel version 2.6.20, which was released on February 5, 2007. This means it comes out of the box but we still need to install some additional packages which we will see in the steps below.
Check if your system supports KVM
Run the below command to find out if your PC supports virtualization.
egrep -c '(vmx|svm)' /proc/cpuinfoAn outcome greater than 1 means virtualization is supported and the number implies the number of CPU cores.
sudo apt install cpu-checker
sudo kvm-ok
The output “KVM acceleration can be used” clearly indicates we are on the right path.
Installing KVM and other dependencies
Now that we are sure our system supports Virtualization, it’s time to install KVM and other dependencies.
sudo apt install -y qemu qemu-kvm libvirt-daemon libvirt-clients bridge-utils virt-managerWhat the above packages are for?
- The qemu package (quick emulator) is an application that allows you to perform hardware virtualization.
- The qemu-kvm package is the main KVM package.
- The libvritd-daemon is the virtualization daemon.
- The bridge-utils package helps you create a bridge connection to allow other users to access a virtual machine other than the host system.
- The virt-manager is an application for managing virtual machines through a graphical user interface.
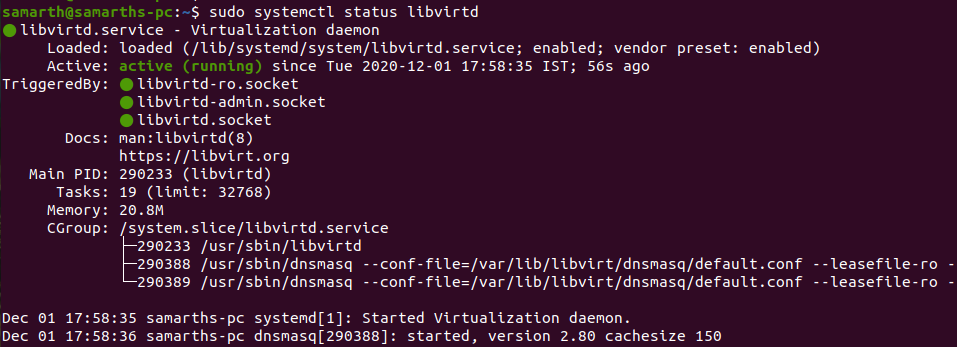
To check virtualization daemon – libvritd-daemon – is running, execute the below command and output should be as shown in the below image.
sudo systemctl status libvirtd
Enable libvirtd to start on boot
sudo systemctl enable --now libvirtdCreating a Virtual Machine on Ubuntu
There are 2 ways to create a VM, first via command link and second via UI.
Creating a VM using the command line
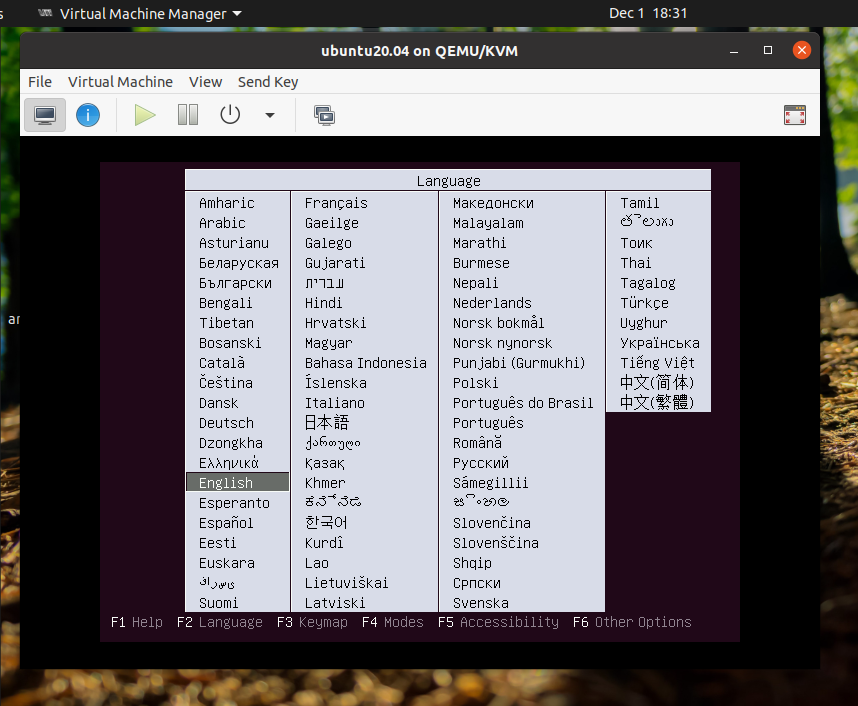
sudo virt-install --name=samteck-vm --os-variant=Debian10 --vcpu=2 --ram=2048 --graphics spice --location=/home/Downloads/deepin-20Beta-desktop-amd64.iso --network bridge:vibr0Here we are giving all the specs (CPU, RAM, Network) and location of the ios file in one command and executing it. After running the command the VM installation will start (image at end of the post)
Creating a VM using Graphical Interface
The graphic interface is more or less like other VM offerings where we need to manually select the specifications and the iso file. To start the KVM Graphical interface execute the below command.
virt-managerAfter this, a GUI application will open up you can begin by creating a new VM, select the local ISO file, hardware specs, and Network interface. And VM installing process will start as shown in the image below.

Afterward just continue with the steps as usual ubuntu installation: setting the username, PC-name, password, locale, etc. And after boot up, you need to need to set the screen resolution. Moreover, this VM will be a part of a virtual network virbr0 and will have a NAT IP address.
Now you can use a GUI-based OS interface to access this server or you can just ssh onto it from your host computer. There is another way to put this VM in your actual LAN using Bridge mode thereby your VM getting the IP address directly from your router, which we will discuss in the next post.
