
EspressIf has been making various IoT chips at an extremely low cost, one such chip is ESP8266. There are various modules of this chip and here we will talk about on such module by Ai-Thinker: ESP8266-01. Also, there are 2 variants of ESP8266-01: blue(512KB flash) and black(1MB flash)
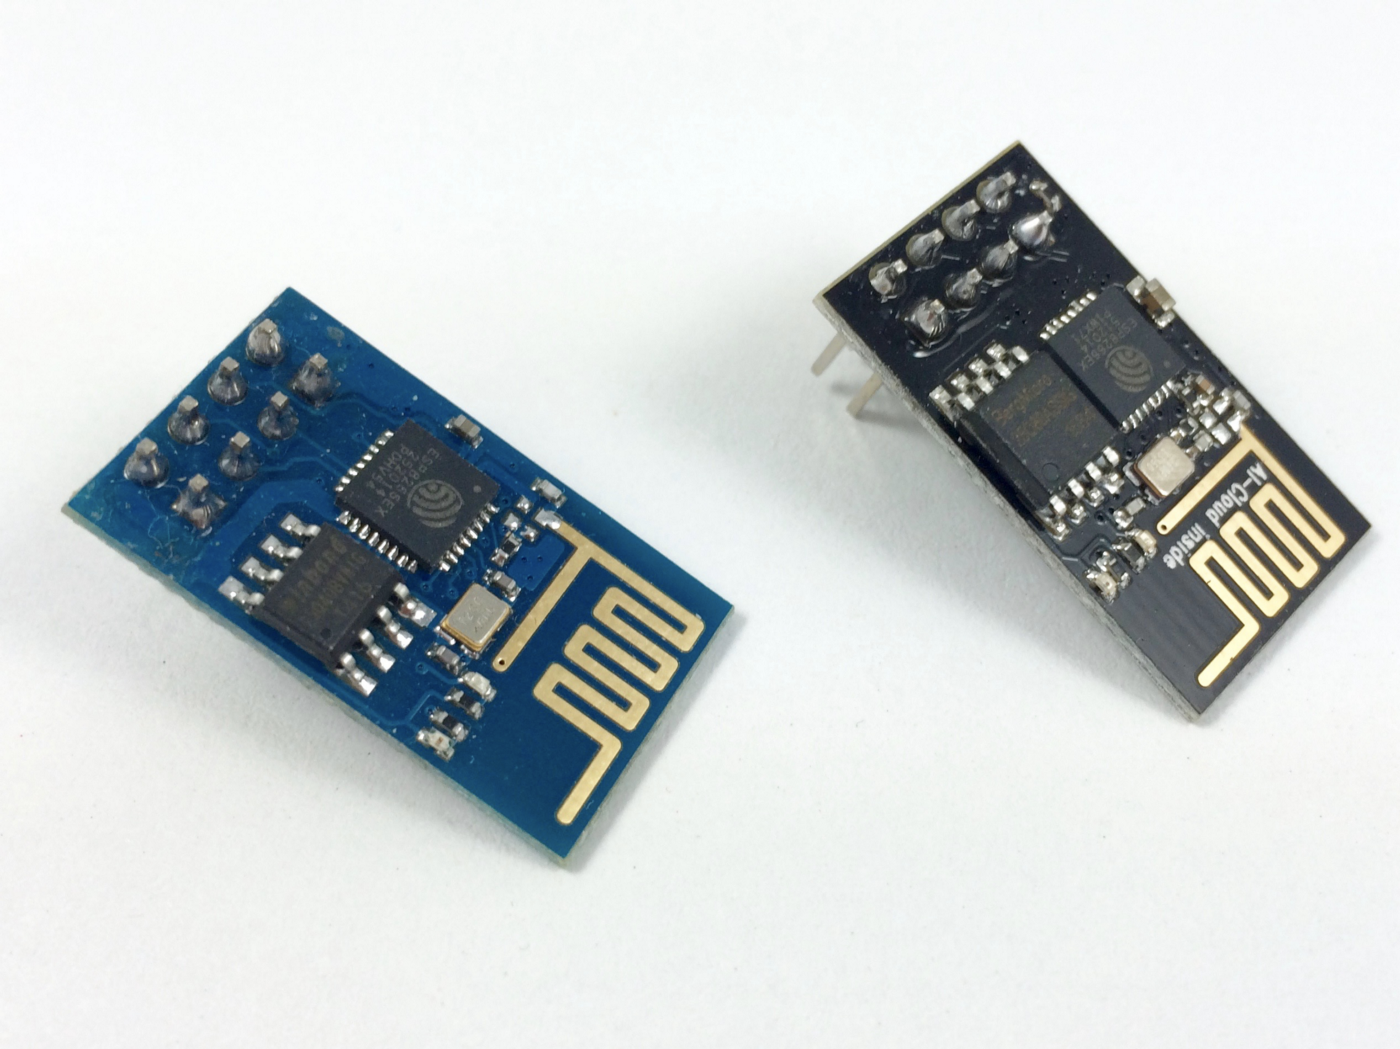
The ESP8266 is a microcontroller chip from Chinese manufacturer Espressif, built around a Tensilica Xtensa LX3 processor, it includes onboard Wi-Fi. Originally intended to be used as UART to WiFi adaptor, allowing other micro-controllers to connect to a Wi-Fi network and make simple TCP/IP connections using Hayes-style (AT) commands, the ESP8266 quickly became popular as a stand-alone micro-controller because of its low price point.
Although the ESP8266 chip is made by Espressif, modules bearing the chip come from a variety of different manufacturers.
ESP8266-01 PIN OUT and Configuration
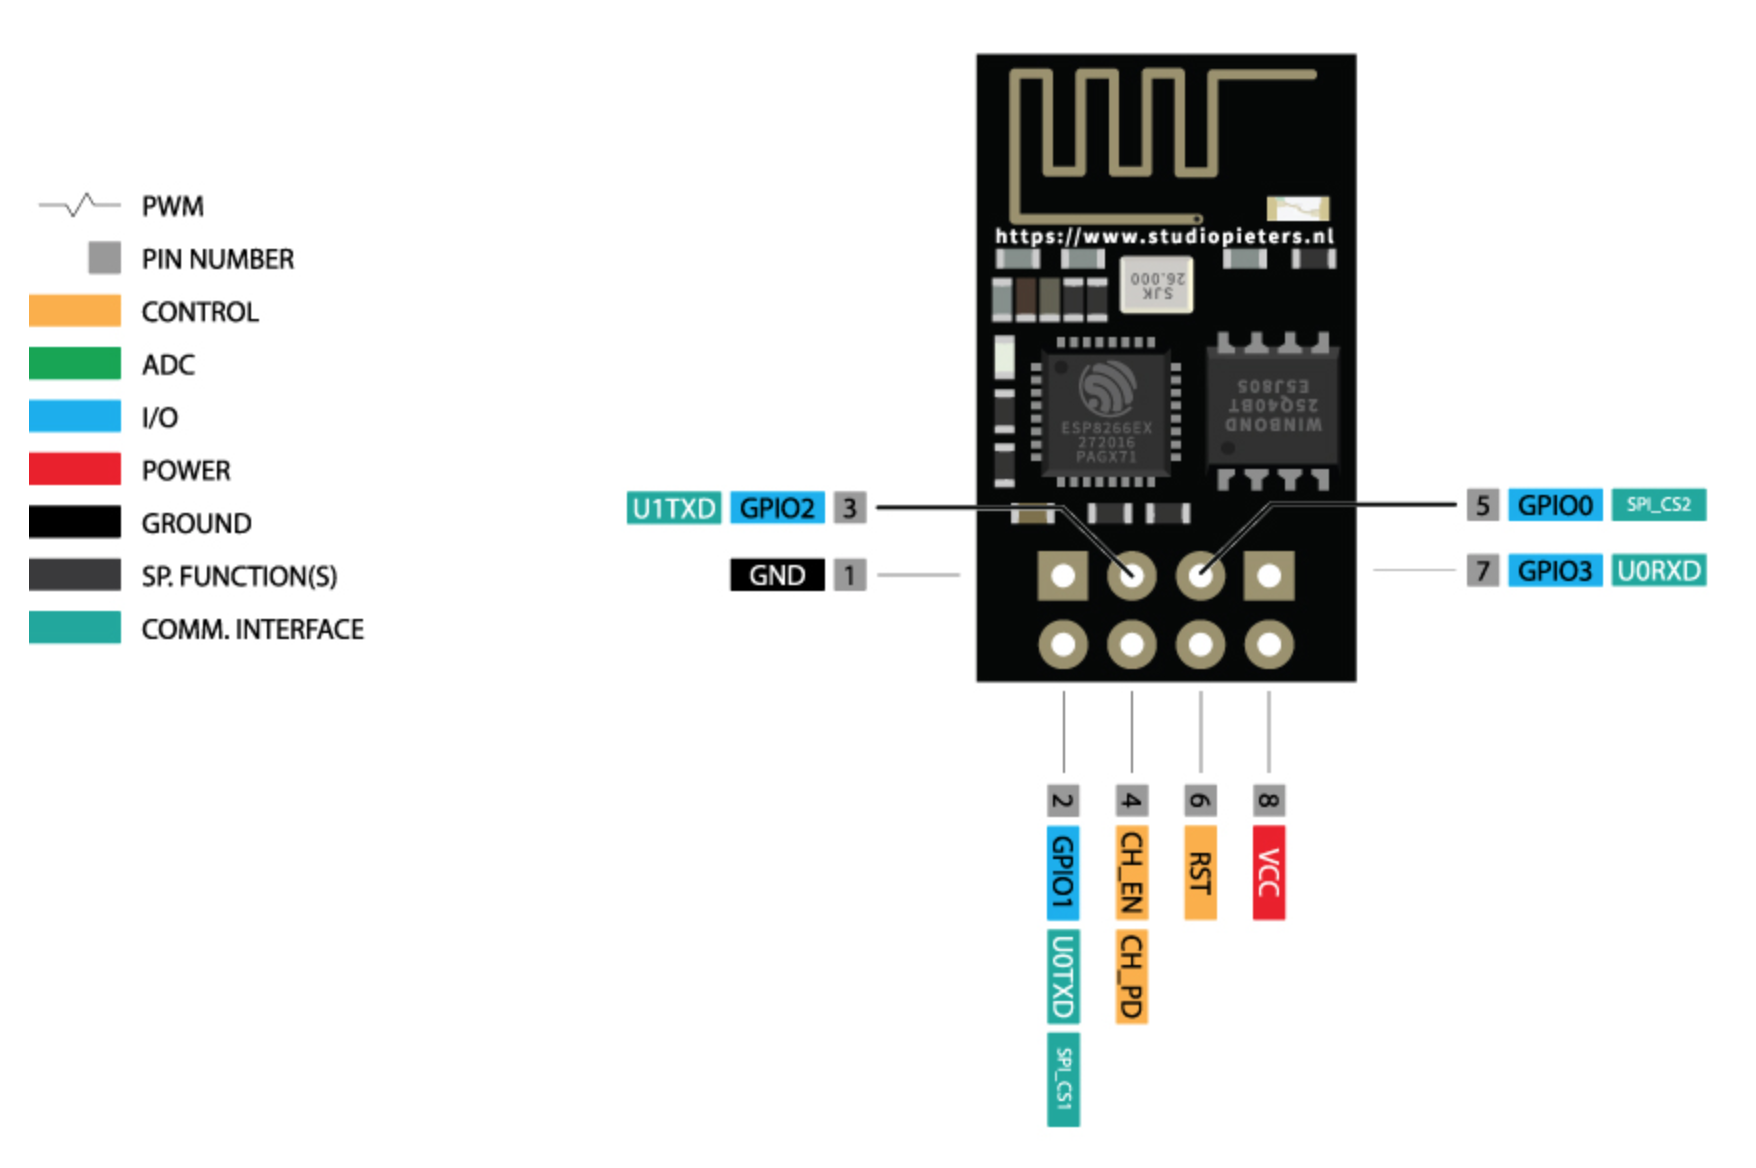
| Pin Number | Pin Name | Alternate Name | Normally used for | Alternate purpose |
| 1 | Ground | – | Connected to the ground of the circuit | – |
| 2 | TX | GPIO – 1 | Connected to Rx pin of programmer/uC to upload program | Can act as a General purpose Input/output pin when not used as TX |
| 3 | GPIO-2 | – | General purpose Input/output pin | – |
| 4 | CH_EN | – | Chip Enable – Active high | – |
| 5 | GPIO – 0 | Flash | General purpose Input/output pin | Takes module into serial programming when held low during start up |
| 6 | Reset | – | Resets the module | – |
| 7 | RX | GPIO – 3 | General purpose Input/output pin | Can act as a General purpose Input/output pin when not used as RX |
| 8 | Vcc | – | Connect to +3.3V only |
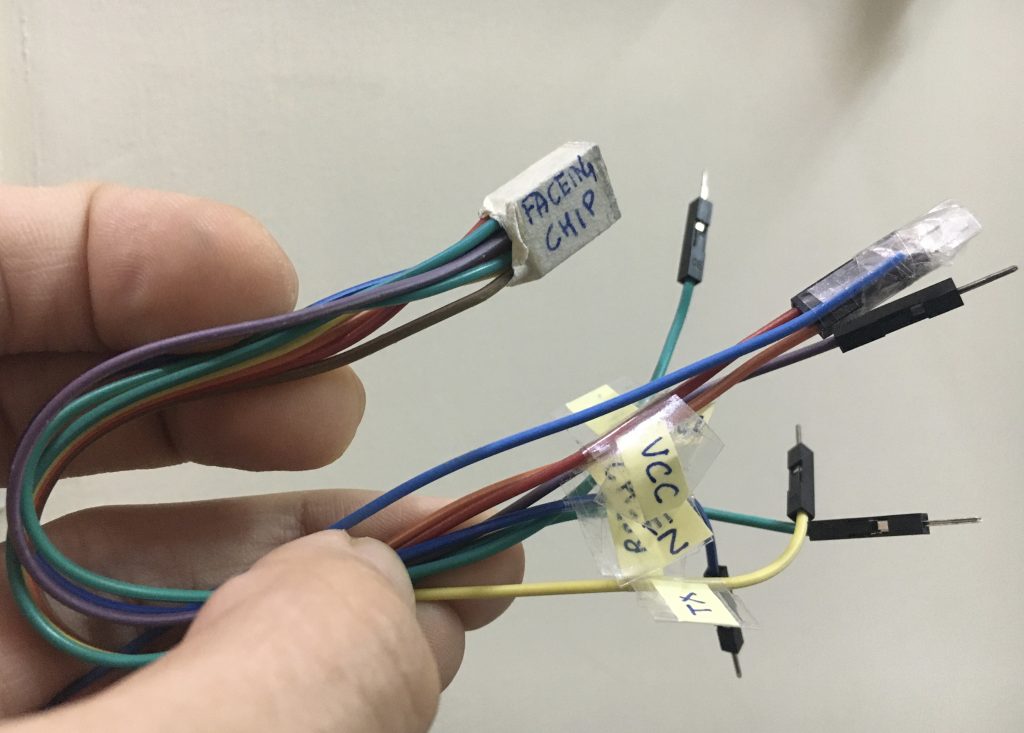
Also, I always prefer to make a guided jumper wires connector for easy working with ESP module.
Make connection with Arduino
Esp8266-01 comes with AT-commands default firmware there are 2 ways we can interact with that firmware via Arduino.
List of important AT commands.
1.Using Arduino as Host MCU to communicate with ESP8266
Using the Software Serial library we can send serial commands to Arduino and Arduino with again send it to ESP8266 and vice versa. Code Below
#include <SoftwareSerial.h>
SoftwareSerial mySerial(10, 11); // RX, TX
void setup() {
// Open serial communications and wait for port to open:
Serial.begin(57600);
while (!Serial) {
; // wait for serial port to connect. Needed for native USB port only
}
Serial.println(“Goodnight moon!”);
// set the data rate for the SoftwareSerial port
mySerial.begin(4800);
mySerial.println(“Hello, world?”);
}
void loop() { // run over and over
if (mySerial.available()) {
Serial.write(mySerial.read());
}
if (Serial.available()) {
mySerial.write(Serial.read());
}
}
2. Using Arduino As USB-TTL by bypassing ATmega MCU
Arduino can be used as a USB-TTL converter and we can directly send out commands to ESP8266.
Click here to learn how to use Arduino as USB-TTL converter.
Pingback:How to flash ESP8266-01 – Default/Custom Firmware Upgrade | Weock